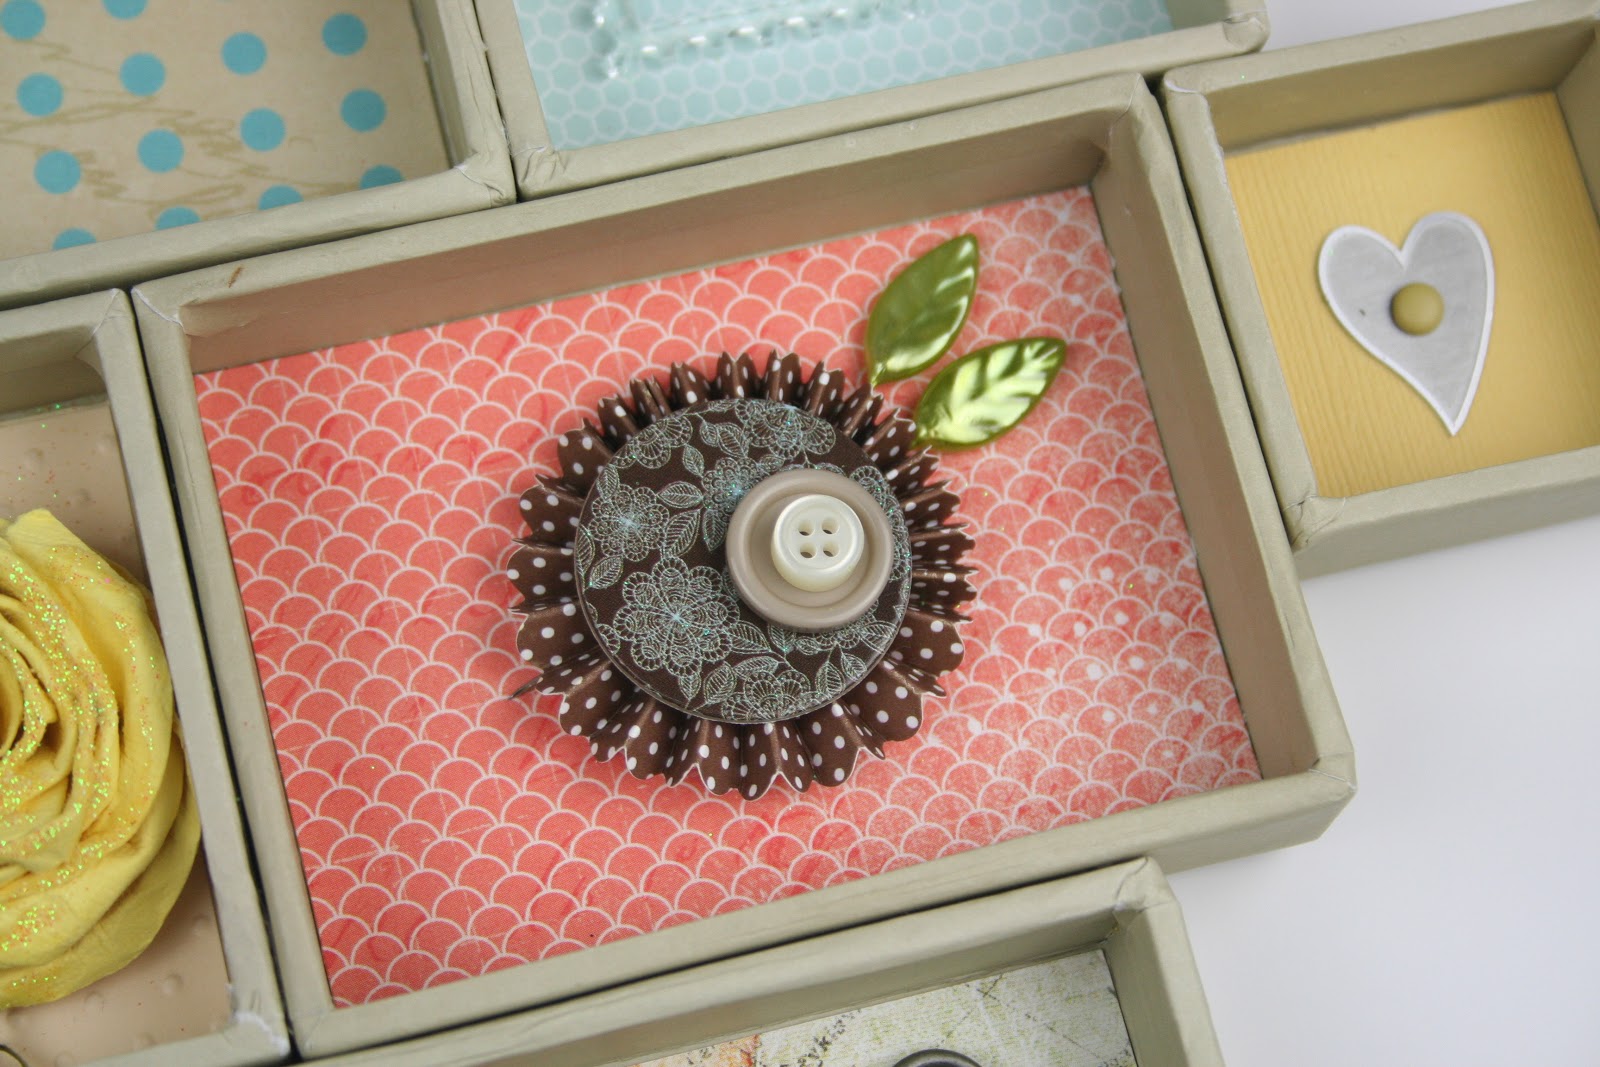


Here's the steps I took to build my flower:
NOTE: You will have enough individuals petals to make up to 4 flowers at once if you choose.
1. Stamp one daisy stitched flower from the Flower Stitch set onto Whip Cream cardstock. Repeat for the number of flowers you wish to create (up to 4 without duplicating the following steps).
2. Using your Detail Pro Shears, cut out around these flowers approximately 1/8" from stamped images.
3. Stamp the same daisy stitched flower onto Riverstone, Orange Creamsicle, Lavender Fusion, Watermelon Fusion, Candy Apply, Pool Play, Lemon Grass and Banana Cream cardstock.
4. Before cutting out the individual petals, stamp the polka-dotted border stamp from Border Buddies across the petals of Riverstone, Orange Creamsicle, Lavender Fusion and Watermelon Fusion ONLY (TIP: Stamp the first border across the center of the stamped flower, re-ink your stamp then stamp again on the side, repeat re-inking and re-stamping for the remaining side.)
5. Grab a Whip Cream flower that you stamped in step one to use as the base to build your flower.
6. Cut out individual petals from each of your stamped flowers without the polka-dots (i.e. Candy Apple, Pool Play, Lemon Grass and Banana Cream) and adhere them over the petals on the Whip Cream cardstock using Small Foam Squares making sure to skip every other petal space.
7. For the polka-dotted petals you stamped in step 4, do the same. However, you will do a double layer of petals. So, first adhere a petal using a small foam square, then go back and adhere another petal on top using a foam square. This creates a wonderfully dimensional bloom.
8. Finish off the center with a Sparkle Drop.
9. Lastly, give your bloom some leaves that are cut from the patterned paper in the Journey Basics patterned paper pack.

Thanks for taking a look at my creation. I have listed all the supplies used for this project at the foot of this blog post. It is important for you to know the things I've used that are retiring are the two stamp sets: Flower Stitch and Border Buddies, and the patterned paper packs: Journey Basics and Black & White. All other products listed are NOT retiring! YAY!
You can only order these products through a Fun Stampers Journey Coach. A listing of those coaches can be found at www.funstampersjourney.com. If you need assistance locating one, please let me know and I'll be happy to give you some guidance. You can email me using the link under my photo over there in the right-hand sidebar.
Here’s what you do:
• Visit each blog listed below
• Leave a comment on each blog; one winner from all comments received will win their choice of one retiring stamp set. The more blogs you comment on, the more chances to win!
• Comments close on Thursday, May 7, 2015 at Midnight, PST.
• Return on May 8th to see the winner announcement on Richardgaray.com!
Richard Garay
Kathy Martin
Tania Willis (that's ME!)
Angi Barrs
Mindy Baxter
Michelle Woerner
Laura Williams
Fun Stampers Journey
Be sure to check out ALL the stops on this amazing blog hop and comment on each and every one to increase your chances for a FABULOUS prize!
Supplies:
Inks:
Black Licorice, Riverstone, Orange Creamsicle, Lavendar Fusion, Watermelon Fusion
Cardstock:
Riverstone, Orange Creamsicle, Lavendar Fusion, Watermelon Fusion, Candy Apple, Pool Play, Lemon Grass,Whip Cream, Banana Cream
Stamps:
Flower Stitch, Border Buddies
Die:
Pocket Card
Patterned Paper:
Journey Basics, Black & White
Embellishments:
Paper Clip Elements, Sparkle Drops
Adhesives & Tools:
White Liner, Journey Dots, Journey Foam Squares – Small, Crease Tool, Journey Blooms Paper Trimmer, Acrylic Block, Detail Pro Shears, Journey Grand Machine, Bloom Tool