so, i channeled my inner Suess "Think left and think right and think low and think high. Oh, the THINKS you can think up if only you try!”........and i came up with an idea, but was hesitant to try. for fear that ruining it would make me just cry. but i mustered up the strength and stood tall and got busy. and the end result was so beautiful, it was making me dizzy.
okay, enough of that nonsense. wanna see? just nod your head yes.
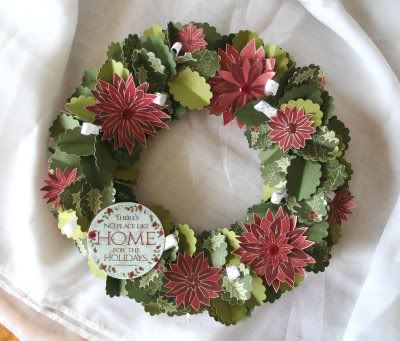
it's super easy and the end result is so very lovely. it's another family friendly Christmas activity to do together. the little ones looooooove to squeeze those squeeze punches.
the paper kit i used is no longer available, but you can easily adapt this concept with different products.
basically, here's the supplies needed:
- styrofoam wreath form (dollar store)
- stick pins (dollar store)
- Fiskars Cameo Appearance Extra Large squeeze punch
- green cardstock
- doubled sided green patterned paper
- Christmas diecuts or chipboard pieces
- 1 1/2" wide satin ribbon - 3 yards
- 1/4" wide white satin or grosgrain ribbon
- brads
- clear drying adhesive (or glossy accents)
- red glitter
- scissors
- foam tape
- poinsettia floral pattern (google search one)
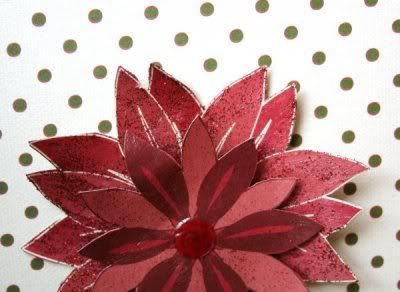
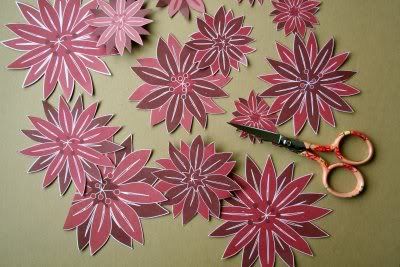
2. Using a paintbrush, coat a clear glossy adhesive onto all flower pieces, and then dust lightly with red glitter. Set aside to dry. Once dry, layer your poinsettia flowers using foam dots between the layers to give them more dimension. Embellish the centers with bling or brads.
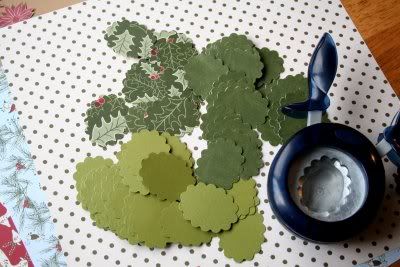
3. Punch a variety of green patterned papers and cardstock using the Scalloped Punch: Cameo Appearance Extra Large. You’ll need to punch at least 3 full 12x12 sheets of patterned paper/cardstock.
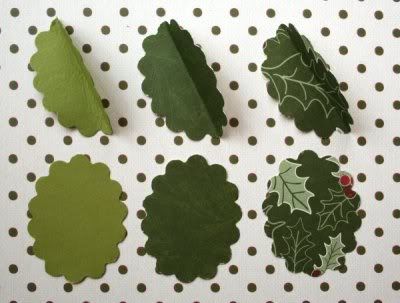
4. Fold each of them in half lengthwise to resemble holly leaves.
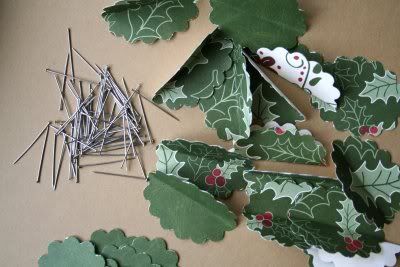
(Note: I found that a combination of double sided patterned paper and solid cardstock worked best so there was varying thickeness of paper.)
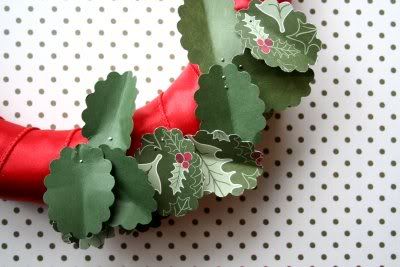
5. To cover your wreath form with ribbon, secure one end of the ribbon to the wreath form using several stickpins. Then, start wrapping the ribbon around until the form is covered. Secure the end with additional stickpins.
6. Secure the holly leaves to the wreath form using stickpins. Continue layering them until you have the fullness you desire.
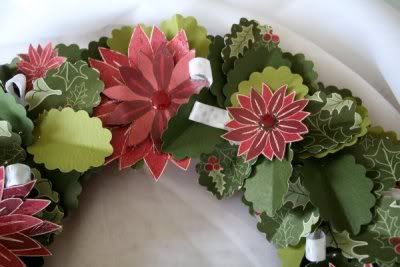
7. Attach the flowers to the wreath with stickpins or foam dots. Attach a larger flower first, spacing evenly and then fill in with the smaller flowers to give a more balanced appearance.
8. Add additional die-cuts or chipboard accents giving it a balance appearance.
9. Cut ¼” wide ribbon into 5” lengths. Fold in half and attach cuts ends to wreath form using stickpins so you have a decorative loop of ribbon peeking through intermittently.
10. Hang and enjoy! :)

This project almost scared me off, but then I read the directions. So easy! Plus it's a great way to use up your stash. Thanks for sharing.
ReplyDeleteit is definitely SUPER easy! also, VERY inexpensive. and something you can do while watching a movie....and definitely something little ones can even help with. :)
ReplyDeletehave fun with it!
Fabulous wreath and looks super easy! can't wait to try it at home! thank you for sharing
ReplyDelete