Showing posts with label pretty things. Show all posts

Monday, November 26, 2012

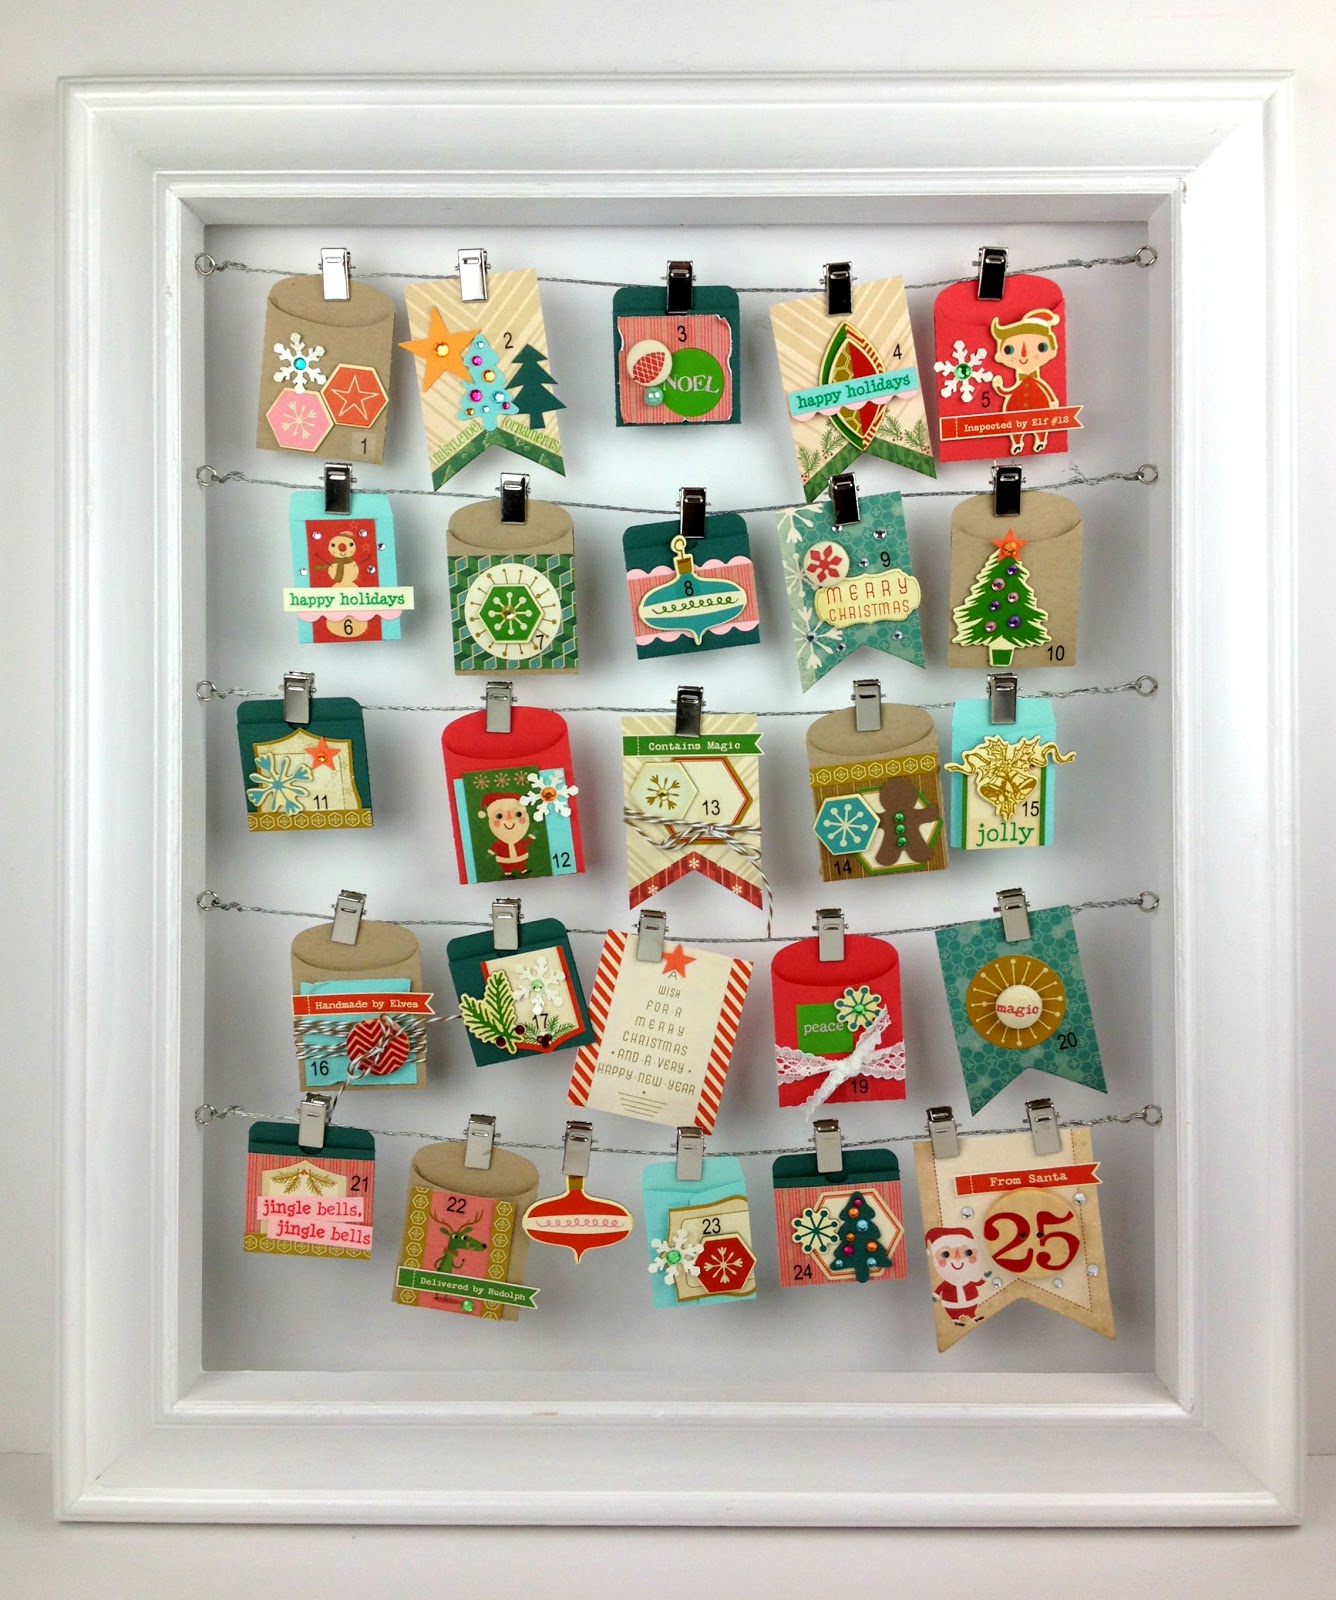
Silhouette Wood Frame Advent Calendar Limited Edition 2012

i was so excited when the email came through my inbox from Silhouette asking me if i'd like to play with the Silhouette Limited Edition Advent Calendar for 2012. it took me 2 seconds flat to make that decision....i mean, come on. that's a no-brainer! you may remember the one i altered last year--it became quite the popular re-pin on Pinterest. :)

(edited to add: Silhouette has told me that if you enter the code: BLACK at checkout, you'll recieve a 40% discount on your own Wood Frame Advent Calendar. YAY Silhouette!  my readers thank you for that! )

funny enough, i reached for Cosmo Cricket's 2012 Christmas collection (Jolly Days), SRM Stickers, and my Fiskars punches yet again.  what can i say, those companies never disappoint and i really dig their style.
the Silhouette Limited Edition Wood Frame Advent Calendar is such a stylish countdown to Christmas. but, it doesn't only have to be for Christmas.  i can see this being used as a countdown to a trip to Disney, or a birthday or anniversary....or even just to display some of your favorite photos. can't you?
the solid wood frame comes already painted white with wires already attached. you also get a free download card loaded with 20 shapes to help you create your advent calendar. you have full creative control over what this calendar looks like! just use your Silhouette and your favorite paper to customize the calendar in your own style.
this is one of those frames that will be so very useable even after the holidays. i plan on packing the little envelopes away with my Christmas decorations, then repurposing the frame with everyday photos printed from instagram and having it hang in my home all year long.
anywho. i had such a fun time altering it. it's pretty well known that i have a love affair with SRM Stickers. if you didn't know, i used to design for them and they pretty much stocked me up for life with a very generous supply. but, even if i didn't have gobs of these things, i'd be adding them to my shopping basket any chance i could get, i love them that much!  they have stickers for every ocassion and they are clear so they look more like a rub-on. i'll take that over frustrating rub-ons anyday. thank.you.very.much. :)
of course, i also had to get some good use out of my Fiskars punches.  i *adore* the Christmas seasonal punches. i've used them on gobs of projects the last two weeks and i'll be sharing those over the next two weeks with you. my favorite is the snowflake punch on envelope 23. i used it on several envelopes and punched it from glittered cardstock, but the sparkle is hard to relay in photos.

the easiest way to complete one of these projects is to grab a single collection and pull a few sheets of coordinating cardstock and just START.  then treat each envelope individually.  if you look closely, there is nothing stellar about each envelope on it's own. it's the sum of them all together that give this project the wow factor. just repeat colors, repeat embellishments, a little sparkle dispersed randomly in the way of glittered cardstock and adhesive backed rhinestones, some mild distressing, and sticker sentiments.
all in all, this project came together, including time to cut the shapes, in just about 3 hours. and yes, that includes interruptions (always).  really, really, so simple, and makes quite a powerful statement. and what i love most about this year's version is that it only used 3 sheets of cardstock, but still, because of the substantial size of the frame (guessing 18" x 24") it still packs a powerful punch.  compared to last year's version that used 35+ sheets of cardstock. 

psssttt......if you don't already have a Silhouette Cameo, there is a GREAT cyber monday deal at Scrapbook.com.  enter the code: SCMN6 to get $70 off instantly! 

and here's clickable links to all the products i've used to create this calendar.


(full disclosure: while i was not paid to create this blog post, just simply provided with the wood frame calendar, this post does contain affiliate links.)

Saturday, November 17, 2012

Anthropologie-Inspired Lampshade Tutorial: 2nd Annual Handmade Holidays Blog Hop

Welcome to the 2nd Annual Handmade Holidays Blog Hop!!! And for those of you who are new to this space, welcome.  I hope after you read today's tutorial that it will convince you that this space is worth bookmarking and visiting time and time again! :)

We’ve gathered designers from some of our favorite manufacturers to show you ways to create something from the heart this holiday season. This 3 day Hop includes over 60 stops with inspiration brimming from every corner. Explore all of the thoughtful and frugal handmade gifts you could create for the holidays, all in one place, during our second annual Handmade Holidays Blog Hop!

As a participant, I was asked to share a handmade gift idea for the upcoming holiday season. So, today I have a tutorial to share on how to create your own Anthropologie-Inspired Lampshade using my Fiskars tools.

First you'll need to purchase a neutral colored lamp base and lamp shade (or, if you're frugal like me, thrift one from your local resale shop).  Then, place your shade in front of you with the seam at the back. Wrap your shade several times with baker's twine from The Twinery until you get a band the thickness you like.  Go slow and with each wrap around be sure to use your fingers to push the twine tightly together.

Next, use your Pretty Scallops Lever Punch XXXX Large and punch 4 scalloped circles from cross-stitch cloth. Punch a single circle using the Circle Lever Punch XXXX Large from the same cloth.

Fold each of the scalloped circles in half, then in half again. Place a dab of hot glue between the layers near the crease of the folds to hold it closed.

Then, place hot glue on the back of each wedge and adhere to the circle. Allow to cool.

Embellish the center with some coordinating ready-made embellishments. These are from the Saturday's collection by Little Yellow Bicycle. I just removed the bronze brads that came with them and inserted some colorful fabric-covered brads in their place. The felt texture of the petals and the linen texture of the leaves add subtle texture and compliment the cross-stitch material nicely.

Next, use your Circle Shape Template to trace several circles, varying in size, onto some colored canvas to create your own flower embellishment. Insert a fabric brad through the center. The pink flower was created in the same fashion as the scalloped flower cut from cross-stitch material using sheer organza fabric.

Use temporary adhesive, such as Removable Glue Dots to figure out your preferred placement of your flowers before using your hot glue gun to adhere them to the lamp shade.

Once you have a placement you are happy with, remove one flower at a time, remove the glue dot, and then hot glue the flower in place. Be sure to hold it in place until the glue cools so it doesn't shift on you. Lastly, to put your lampshade makeover in the 'over-the-top' category, add a plume of feathers cut from a feather boa.

All that's left to do is admire your super chic Anthropologie-Inspired Lamp Shade made on a budget!  Oh, and figure out how to wrap it up so you can gift it this holiday season! LOL.


So...back to the hop details:

To sweeten the Hop, we’re offering a gift for you! For every comment you leave on the blogs in the Hop, you’ll be entered to win a prize pack from one of the participating manufacturer sponsors! Use the Rafflecopter widget on the Clearsnap blog to gain extra entries each day.

And the best news I have to share is that Fiskars is one of the sponsors!!! Can I hear a "whoooot, whoooot!?"

Visit the list of blogs below and leave a comment on each by Nov 27, 2012 at 11:59 PM PST. Each day we will be sharing a brand new list of blogs with brand new projects for you to explore, be inspired by, and create from!
Clearsnap
Hampton Art
Graphic45
Fiskateers
Donna Salazar Designs
Tombow USA
Authentique Paper
The Twinery
Eileen Hull for Sizzix
Globecraft Memories
Diana Gonzalez – Clearsnap
Monika Wright – The Twinery
Gretchen McElveen - Hampton Art
Megan Aaron – Clearsnap 
Tania Willis – Fiskateers (you are here)
Gloria Stengel – Graphic 45
Suzanne Austin – Clearsnap
Shellye McDaniel – Authentique Paper
Natasha Naranjo Aguirre – Donna Salazar Designs
Jen Carter – The Twinery
Laura Denison – Graphic 45
Candy Spiegel – Globecraft Memories

Cheers to creating gifts from the heart this holiday season!

Happy Hopping!

Thursday, November 15, 2012

Fiskars: Thanksgiving Gobble Gobble Mix featuring the Fuse Creativity System

crafting thoughtful homemade gifts to share with those you’re thankful for this holiday season doesn’t have to be costly or time consuming.

i've been jumping out of my skin waiting for the day when i could share my little tutorial on how to create these little gobblers. :)
it's what we've lovingly called "gobble, gobble" mix, because, well.........it's so good you're likely to gobble it all up in no time flat! 

it's a combination of homemade (or store-bought) chex mix, with peanut butter candy coated pieces, candy corn and cheerios all mixed together. a perfect combination of sweet and salty!
i chose to use my leaf die along with my Fuse Creativity System to letterpress to create two large leaves to act as the turkey's fan of feathers, but you could easily recreate this turkey with only using the oval punch if that's what you have available. the waddle on his beak is actually cut from the stem portion of the newest seasonal leaf squeeze punch.
putting it together is really as simple as gathering some scraps of cardstock and your favorite tools and piecing together "feathers" to embellish a spoon-shaped turkey head. this is a project that works up rather quickly. my older daughter and i crafted up several of these to hand out as gifts to her teachers, doctors and nurses.  she got a kick out of seeing their faces light up as she handed them over.

interested in making your own? you can see the full step by step tutorial with supply list posted on Fiskars' website: Thanksgiving Gobble Gobble Mix by Tania Willis

Friday, October 26, 2012

Coloring Fiskars Fuse Letterpressed Die-Cuts with Watercolors

with a little extra attention given in making this handmade gift bag you’re sure to have the recipient remember just as much about the packaging as they will about the gift inside! and while it looks like you spent more time making the gift bag than shopping for the gift inside, be assured that this project comes together in less than 30 minutes, including drying time! ready to see how?

first you’ll need to purchase a plain kraft gift bag. these are easily found, usually in bundles of 3, at your local dollar store. the front of the bag is embellished with wide strips of three coordinating patterned papers. just measure the width of your bag to determine how long to cut each paper strip. leave a 2” space of kraft bag showing along the bottom edge for a later step.
next, you’ll insert your “One of A Kind” press plate into the Scalloped Oval die cut, and place into the orange carrier. ink the press plate with black ink. remove from the orange carrier and place a 4 ½” square of textured white cardstock onto the press plate, textured side down. top with the cutting plate and crank it through the Fuse.
remove the die-cut and allow ink to dry for a few minutes. then, color in the image using a basic set of watercolor paints. allow paint to dry approximately 10 minutes before continuing.
next, use your 1/8” hand circle punch to punch a hole at each black dot around the perimeter. starting at the bottom center of the oval, start lacing a double strand of red baker’s twine through each hole all the way around. be sure to leave a small tail at the beginning so you can tie the ends together into a bow.
(i'm sorry Blogger keeps rotating this image sideways...gah.)
continue embellishing the letter-pressed die-cut by creating a paper doily ruffle. to do this, snip into each doily, then cut out the middle using a pair of detail scissors. adhere one end to the back of the die-cut using glue dots. continue adhering the doily with glue dots by pleating along the way to create a ruffled look.

once the ruffle is complete, you can embellish the cupcakes a little further with tiny beads or jewel stickers just to add a little sparkle.

stamp a birthday candle, from the Fiskars Birthday Cheer – Simple Stick Repositionable Stamp Set, repeatedly in the open space across the bottom of the bag. allow ink to dry briefly, and then embellish each candle flame with iridescent glitter glue.
and lastly, fill the bag with your gift and finish it off with some super fun tissue paper.

Supplies:
Lily White Criss Cross Cardstock (Bazzill), Patterned Paper (Imaginisce), Baker’s Twine (The Twinery), Jewel Stickers (Little Yellow Bicycle), Stickles Iridescent Glitter Glue (Ranger), Watercolor Paints (Crayola), Paper Doilies, Kraft Gift Bag, Tissue Paper

Tools:
Fiskars Fuse Creativity System Starter Set, Medium Design Set 0083, Medium Design Set Expansion Pack 0083, Trimmer, Non-Stick Detail Scissors, 1/8” Hand Circle Punch, Birthday Cheer Simple Stick Repositionable Stamp Set

Tuesday, October 23, 2012

Fiskars: Family Shadow Box

i recently had the pleasure of creating my version of a family shadow box for a Fiskars assignment and the final result makes me ridiculously happy! 
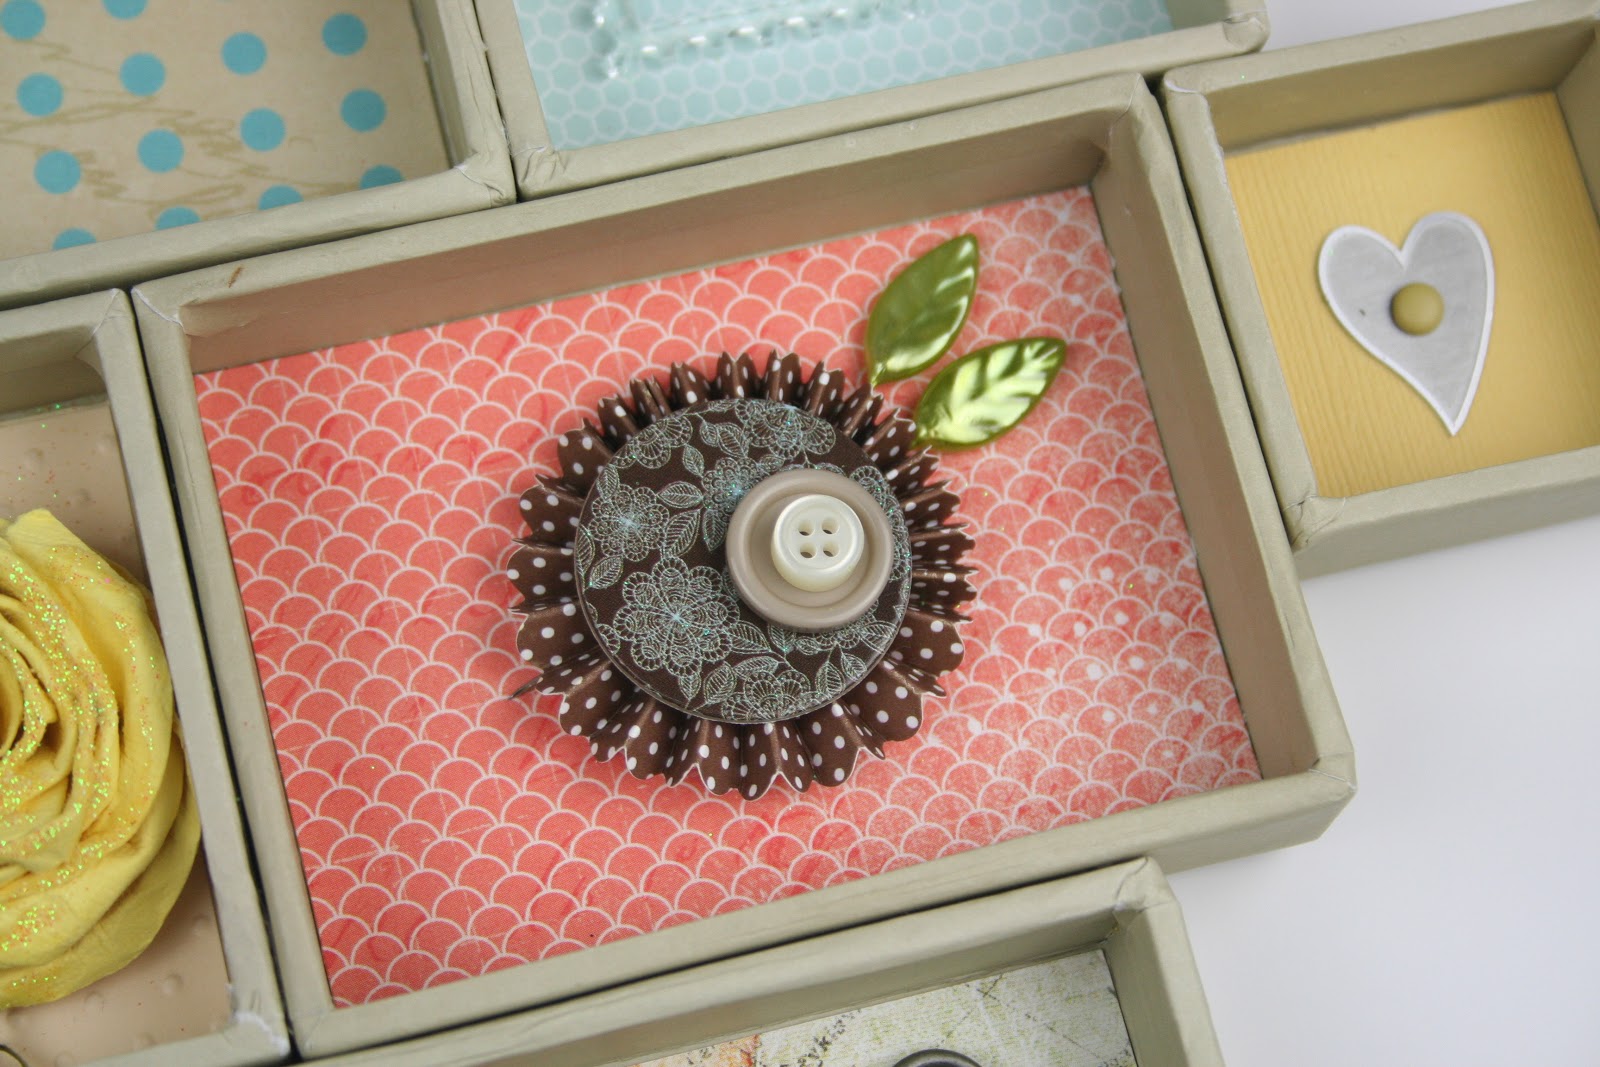
the project started with pieces from the Tim Holtz Idea-ology Printers Tray. you can read more details on the process in my tutorial over there (Family Shadow Box tutorial), but we are limited to the amount of photos that can be shared in a tutorial, so i wanted to use this space to share all the detail shots of the shadow box.
 i had gobs of fun shopping my supplies to come up with a unique collection of things that represent and are significant to our family. lots of symbolism in my choices.  like above, you see the W4 scrabble tile = W for Willis, 4 for family size. you also see the 'a' and 'e' = my girls' initials and a pink #2 = 2 girls.
4 corked bottles, again, symbolism for our family of 4, with three paper roses for myself and the two girls.
and a more masculine flower standing strong to represent my husband.
i wish i would have taken a photo of the tag holding these roses before cutting it to size to fit in this compartment.  it was a sweet manilla shipping tag with some lovely white lace wrapped around and the paper roses on top. something my friend special friend sherry handmade and gifted to me.  so it's extra special knowing it will live forever in this little spot to represent my family.
even though the base of my project is constructed from the boxes that rest inside of a Tim Holtz Idea-ology Print Tray, you don’t need to use this specific tray as your shadow box base. these are just heavy-weight chipboard/paper mache type compartments. if you prefer something with more stability, antique stores and flea markets are both great places to hunt for wood based printers trays or knick-knack boxes that will be perfect for this project.


LinkWithin

Related Posts with Thumbnails