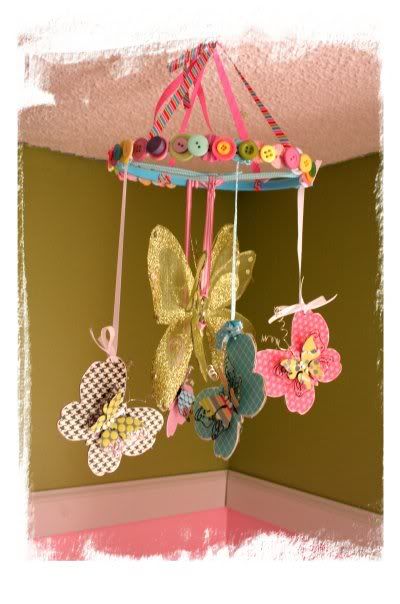
Supplies:
(4) 4” x 12” Strips of Patterned Paper
(4) Chipboard Butterfly Set (Maya Road)
Transparency
Heavy Gauge Wire
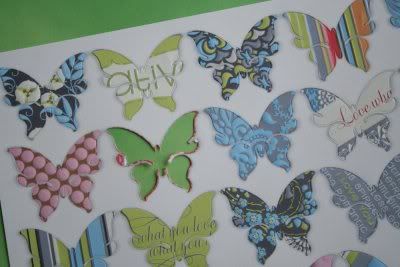
Lotus 12x12 Die Cut Butterfly Sheet (Amy Butler for K&Co.)
Boho Buzz Stamp Set (Technique Tuesday)
Staz-On Jet Black Ink Pad
Rhinestones
Emery Board or Sand Paper
4 – 12” cuts of Assorted Ribbon
Coordinating Buttons
Icecicle Stickles (Ranger)
Small embroidery hoop
Tools Needed:
Adhesive
Gluedots
3-D foam dots
Scissors
Pen
Hand-held hole punch
Instructions:
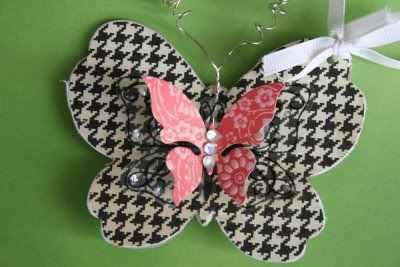
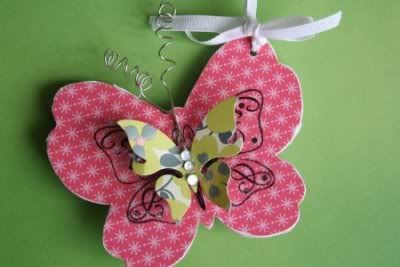
1. Trace chipboard butterfly, TWICE, onto 4 different patterned papers. Cut out.
2. Adhere patterned papers to one side of the chipboard butterflies. Sand edges with emery board or sand paper. Then, using the hole in the chipboard as a guideline, punch a hole through the paper with your hand-held hole punch.
3. Cover the other side of the chipboard butterflies with the same patterns. Sand edges and punch hole.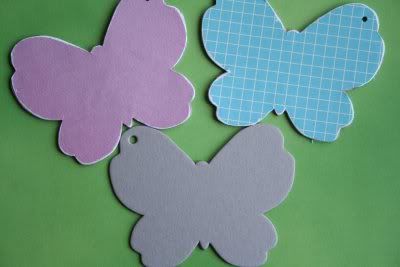
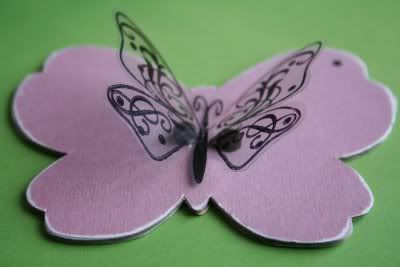
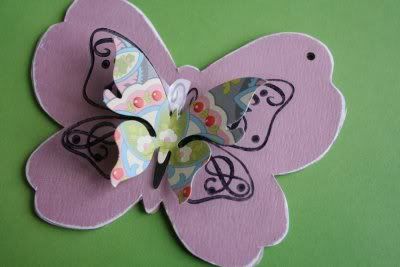
4. Stamp 8 butterfly images onto a transparency using Staz-on ink. Be sure to leave about ½” between the butterflies to allow room to cut them out. Cut out all 8 butterflies about ¼” from the stamped image.
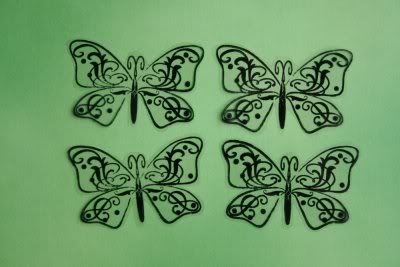
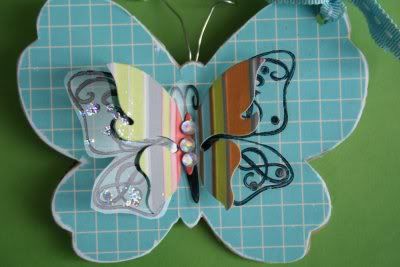
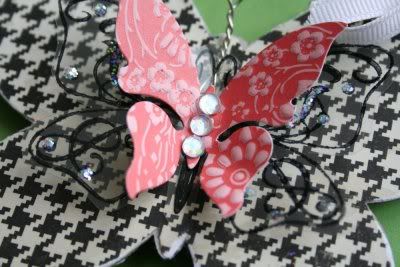
5. If you want extra sparkle, now is the time to add it! Using your Stickles, add some dots of glitter over the stamped dots on the butterfly wings. Set aside to dry completely before moving on.
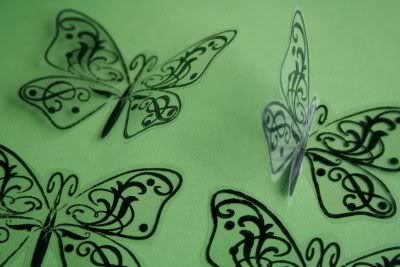
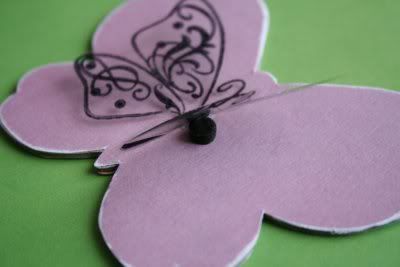
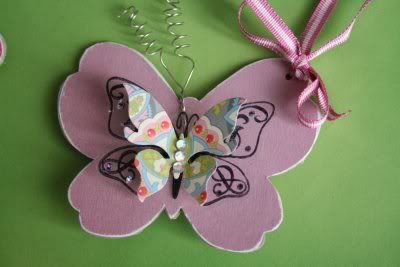
7. Adhere the center of the body only to the center of your chipboard butterfly using a single gluedot. You will adhere two butterflies to each chipboard butterfly----one to the front and one to the back.
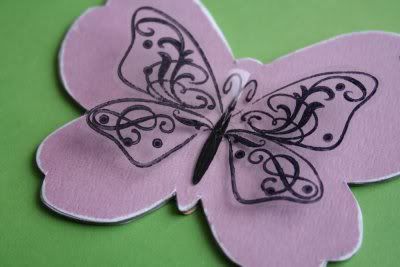
8. To give the wings lift and dimension, adhere a single small black foam dot, under each wing, as close to the center body as you can.
9. Punch out 8 die-cut butterflies, two for each chipboard butterfly---one for the front and one for the back. Adhere using gluedots.
10. Glitz up the center of the butterflies by adding rhinestones.
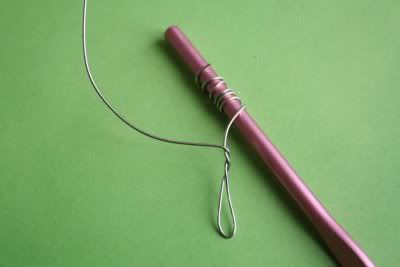
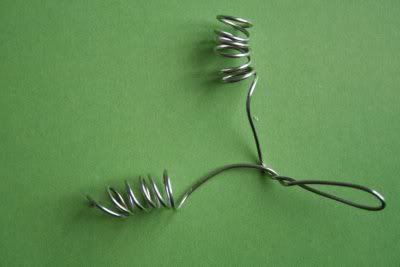
11. Embellish them further by cutting 12” of heavy gauge wire. Fold wire in half, then starting approx 2” up from the fold, wrap each stem several times around a pencil to create the butterfly antennae.
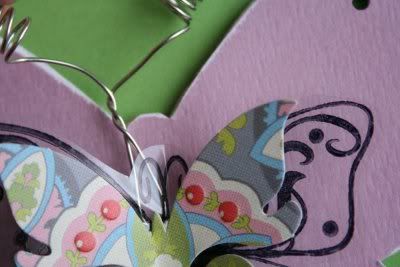
12. Attach antennae to only one side of the butterfly, using gluedots. Do this by lifting the transparency and tucking the folded portion in and under.
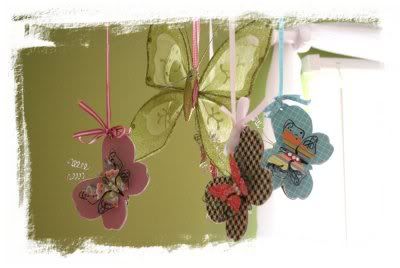
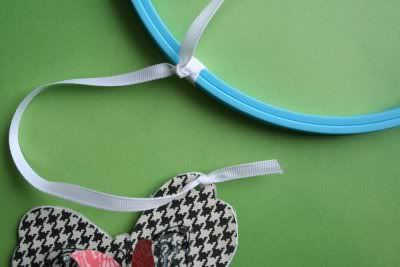
13. Knot one end of the ribbon through the hole in the upper corner of each butterfly wing. Pretty up the knot by adding a smaller bow from the same ribbon, or a flower.
14. Knot the other end of the ribbon onto the embroidery hoop.
15. Add additional butterflies to the hoop.
16. In the space between where the butterflies are tied, tie one end of 4 additional ribbons to the hoop. Gather those four ribbons upward, and knot them together to make a hanger for your mobile.
17. I dangled an additional glittered butterfly that I found at my local dollar store from the center of my mobile. This is optional.
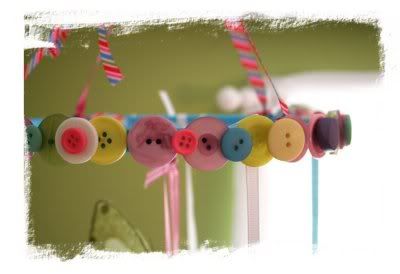
18. Add decorative elements to cover the hoop and make it more pleasing to the eye. I chose to layer buttons, but flowers would work just as well.


Hi Tania,
ReplyDeleteGreat tutorial!
Thanks for sharing
Such a cute mobile!!! Thanks for sharing your great tutorial!
ReplyDeleteamazing Tania, just amazing.
ReplyDeletesuper CUTE!!! CUTE!!! CUTE!!!
ReplyDeleteAnother great tutorial! Thanks. :o)
ReplyDeleteI know this was posted a while back, but I just came across it today.
ReplyDeleteWow, what a great idea! You've given me some ideas for cards too.
Thanks!
; )
discount viagra
ReplyDeletebuy viagra discount
viagra pharmacy
So cute! I love how it colors are sophisticated and the patterns work. For your next project how about some wind spinners for inspiration?
ReplyDeleteGreat tutorial.
ReplyDeleteVal
www.crieartezzanato.blogspot.com