RAINBOW CRAYONS!
these are so very simple to make, but do take a little bit of prep time. it's most certainly something that can be done as a family. it's one of our december traditions around here.
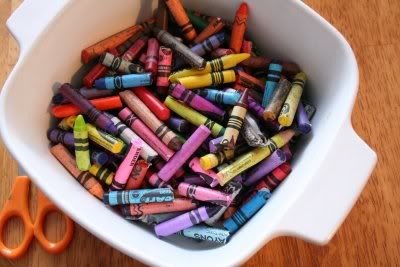
start out by sorting through the crayon box and gather all the broken ones in a dish (you can buy a new box of crayons if you don't have broken ones)
holler for the troops to join you for peeling duty. it's way more fun to have helpers, otherwise you might abandon craft before the task is complete.
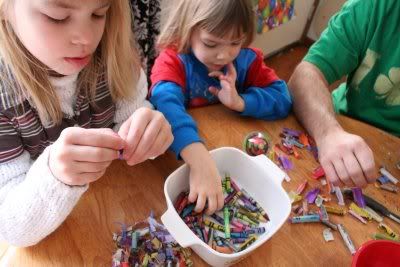
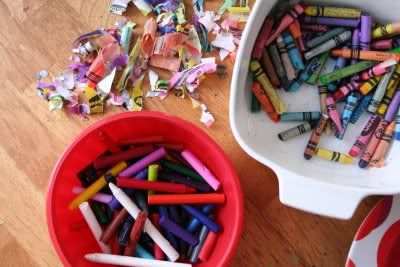
pile the peeled ones into a new container so you can watch your unpeeled pile dwindle and your peeled pile multiply. kids like to see the progress they've made. (note from my hubby....it's much easier to peel if you slide the tip of a paring knife down the seem of the crayon to cut the paper. obviously a parent-only task.)
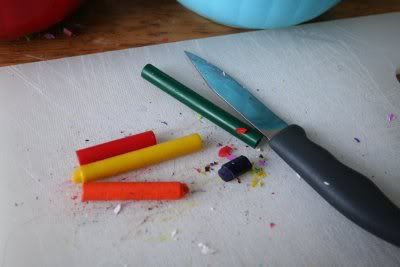
using a cutting board and sharp knife, cut crayons into 1/4" pieces. doesn't have to be exactly 1/4". (tip: i recommend purchasing a cutting board from the dollar store to devote only for crafting so you don't ruin your kitchen cutting board.)
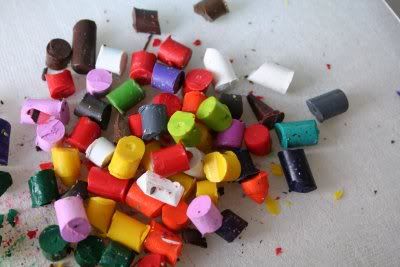
oh, a little side note...this is best done with all the same brand of crayon since some contain a higher content of wax/parafin. the "cheap" crayons tend to separate color from parafin and all the parafin rises to the top leaving a transparent film on top.
another little tip: if you eat out with kiddos, you know they always give you crayons to keep them busy at the table. don't leave those crayons lay when you leave dinner. tuck them in your purse and start a container at home and before long you'll have plenty to complete this project.
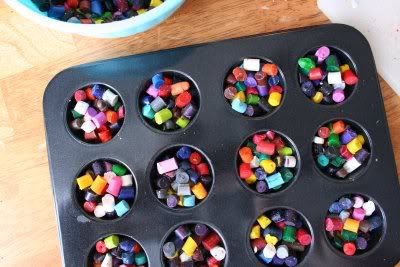
i like to use a mini-muffin tin for mine. they are just the right size for a child's hand. one year i used a snowman muffin tin. really, any kind of oven-safe tin or even those silicone molds will work. just fill up the tin/mold, making sure your crayons are level with the pan, OR below. don't pile them higher than level with the top surface or they will melt everywhere, including into the bottom of your oven.
heat them for 20 to 25 minutes at 175 degrees. remove to cooling rack.
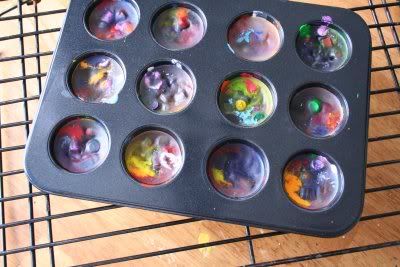
allow to cool until they've set back up. about an hour or two. then pop the whole tray in the freezer for 15 minutes. this will allow them to pull away from the edge of the pan and when you flip them over they fall right out. NO MESS!
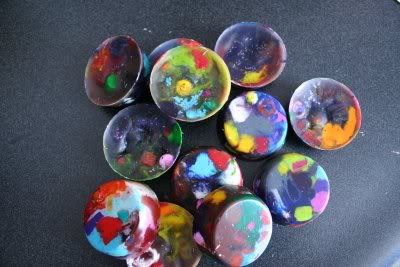
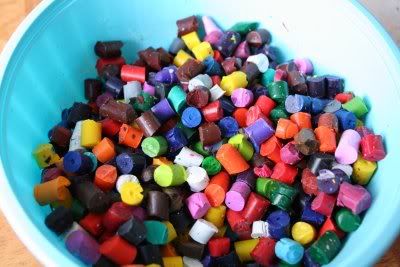
the pile of crayons you see in the blue bowl ended up making 21 rainbow crayons. a few broken crayons goes a loooooong way. you can wrap them up a few in a pack and gift them this holiday! simply tuck them into a sandwhich baggie and tie with ribbon. Voila! adorable and FREE!
PS.....i know most people who do this craft usually make them all one color---all the broken red/pink in one tin slot, yellows in a slot, etc. either way you go, you'll get a beautiful result that will wow your recipient.
ENJOY!

These look super fun to make. Thanks for sharing the idea.
ReplyDelete