
I've been savoring every moment of evening crafting time in evenings with the house so quiet.
Today I have a super fun project that dabbles in quite a bit of the mixed media elements that Fun Stampers Journey has to offer without the project looking too artsy-fartsy and messy. I love that the mixed media offerings from Fun Stampers Journey allow the user to be super neat and pull off a more polished look or get down and dirty and pull off a total paint-layered artsy look. Both are beautiful in their own right.
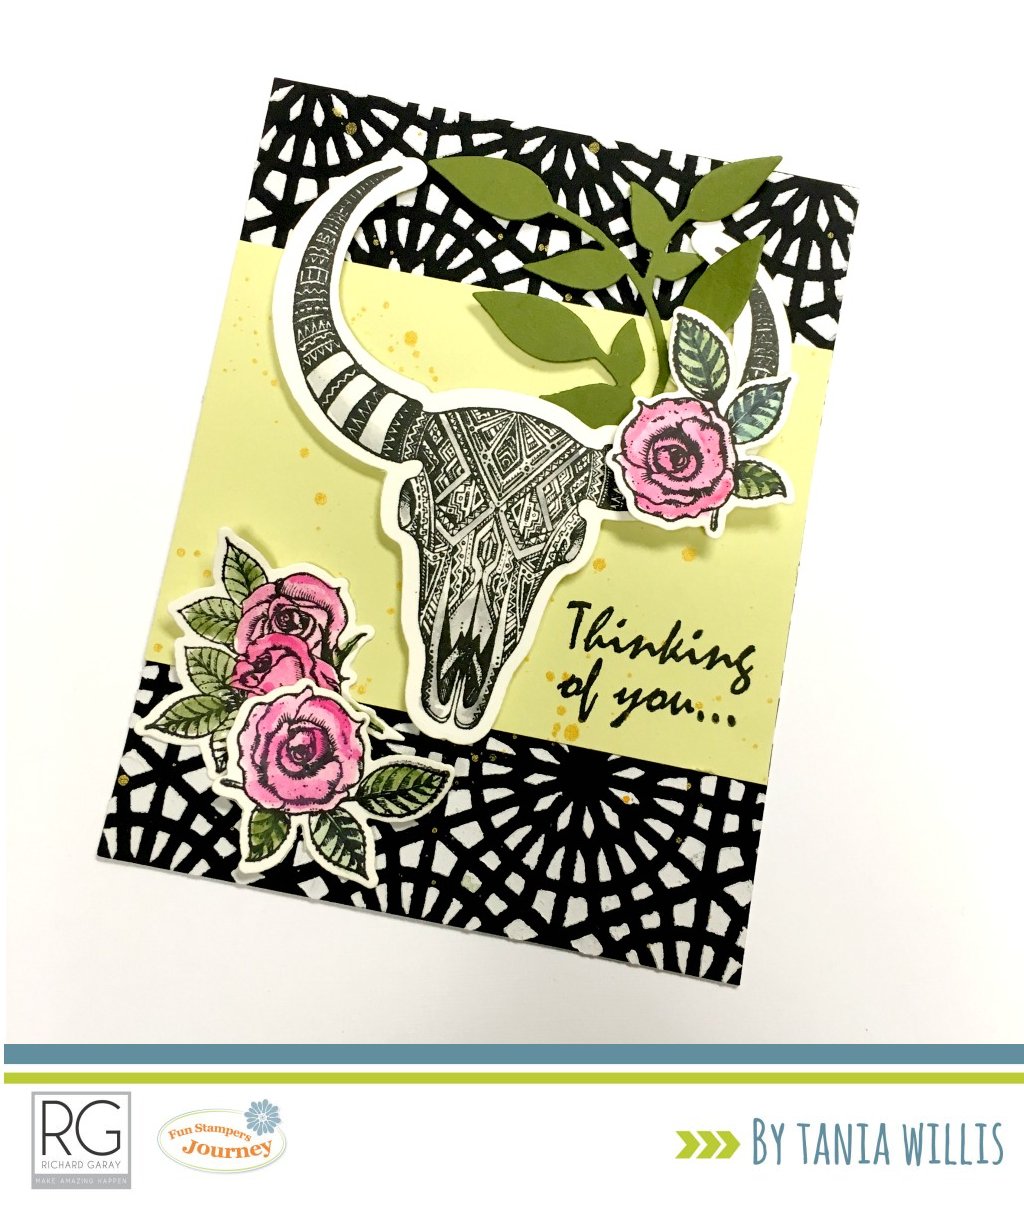
For my project, I started with a Black Licorice Cardstock panel cut to 5 1/2" x 4 1/4". Then, I placed the Starburst Lines - Stencil over top and used the Spatula to spread a thin layer of Modeling Paste over the stencil until the entire panel was covered. Once the panel is covered, carefully lift your stencil straight up and take it to the sink to rinse with warm soapy water immediately to clean off the excess Modeling paste. Pat the stencil dry or allow to air dry.
Designer Tip: Do not let the paste dry on your stencil before rinsing or you'll have a heck of a time getting it off. If you've waited too long to rinse your stencil try using warm soapy warm and an old toothbrush to scrub off the residual Modeling Paste.
Set your panel aside to dry as you work on the rest of your project.

Next, I stamped the animal head and rose pieces on Butter Cream cardstock using Black Licorice True Color Fusion Ink and added color using my Journey Color Splash Watercolor Color Pencils. After the pieces were completely dry, I used the coordinating die set to die-cut each of the stamped pieces.

Now the card is ready to assemble.
1. Fold a 4 1/4" x 8 1/2" piece of Butter Cream Cardstock in half to create a top-folding card base.
2. Adhere the Black Licorice stenciled panel to the card front.
3. Cut a 3" x 4 1/4" piece of Sweet Pear Cardstock and adhere, centered to the stenciled panel.
4. Splatter Gold Silk across card front.
5. Stamp "Thinking of You..." sentiment using Black Licorice True Color Fusion Ink Pad in lower right corner of Sweet Pear Cardstock.
6. Adhere animal head using foam squares.
7. Die-cut Summer Branch Die from Green Olive Cardstock. Trim down and adhere behind right horn.
8. Adhere single rose to right horn using foam square.
9. Adhere rose cluster to lower left corner of card front.

Supplies:
Desert Greetings Stamp Set SS-0306
Desert Greetings Die Set DI-0194
Summer Branch Die DI-0162
Black Licorice True Color Fusion Ink Pad IP-0041
Journey Color Splash Watercolor Pencils JM-0078
Journey Blending Brush - Small TO-0097
Starburst Lines - Stencil JM-0007
Journey Modeling Paste JM-0073
Spatula TO-0089
Journey Gold Silk IP-0096
Butter Cream Cardstock CS-0006
Green Olive Cardstock CS-0113
Sweet Pear Cardstock CS-0095
Black Licorice Cardstock CS-0003
This is fabulous! Thanks for the tutorial.
ReplyDelete