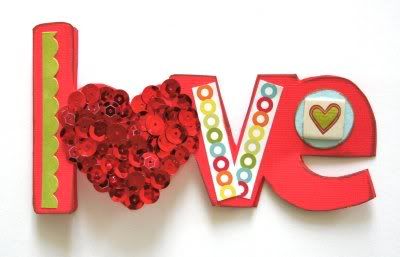
i love each and every one of you that take the time to stop by this little place on the net to come visit me! seriously......you.are.the.best!
as a way to show my appreciation for you today, i have another quick, easy tutorial helping you once again to stretch those scrapbooking dollars using supplies you most likely have right at your fingertips!
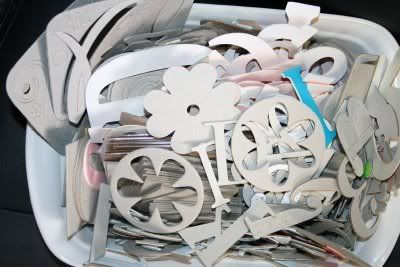
how many of you love the look of shaped cards? and how many of you have piles of raw chipboard that look something like this? if you've been scrapbooking for any length of time, i imagine you answered yes to both of those questions!
today i'm going to show you how to bring the two together.
Let's gather some supplies:
- Chipboard Shape
- Cardstock
- Misc. Embellishments
- Pencil or Pen
- Scissors
- Xacto knife (optional)
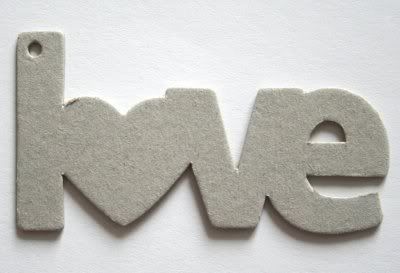
1. First, pick a shape from your chipboard pile. Since it's Valentine's day, i chose this one. (Note: it is easier if you pick a shape with a straight edge so you have something to line up on the fold of your card, although you can still make it work without a straight-edge piece)
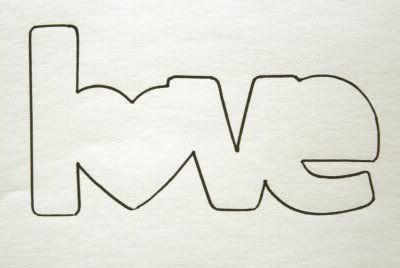
2. Then, trace your shape onto plain white paper. (NOTE: Depending on the size of your shape will determine on whether or not you need to use a copy machine to enlarge your design. I chose to enlarge mine to 160% to get a size that i was happy with. If you don't have access to a copier, you can usually find one for use at your local library--about 15 cents per copy.)
3. Cut out your shape. (TIP:Transfer to a plain cardstock scrap if you plan on using it more than once to give you a sturdy template.)
4. Measure the height & width of your shape. Cut a piece of cardstock double the height OR width based on the orientation of your shape. In my case, i doubled the width.
5. Fold cardstock in half.
6. Place the straight edge of your template on the fold. Trace template.
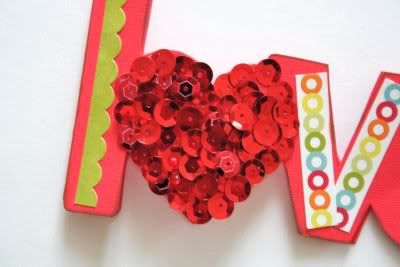
7. Cut out and embellish. For my card I chose leftover stickers and cut them to size to embellish each letter. The heart in place of the "o" was embellished with party confetti sequins leftover from birthday decorations. these are very inexpensive and can be found in the party section at the dollar store.


Ahhhhh, you are to creative! I hope you have a great V day! Love ya lots! :)
ReplyDeleteGreat idea!
ReplyDeleteHappy Valentines Day!
Very Cute! Happy Valentine's Day! :)
ReplyDeletet- i LOVE the way you filled the heart w/sequins. what a great use for all that party confetti. thanks for the inspo!
ReplyDelete